
Leather is one of those materials that ages with you. A good jacket tells a story over time. So does a favorite bag or a worn-in pair of boots. But that story only stays beautiful if you look after the leather properly. Store-bought conditioners work fine, sure. But they can be pricey. And honestly, half the time you don’t even know what’s inside the bottle. So today we’re going to talk about something more practical. We’re diving into homemade options that actually work. Chances are, you already have the ingredients in your kitchen.
Most of us buy a nice leather piece and wear it a few times. Then we just forget about it. It happens to almost everyone, honestly. Suddenly it looks cracked or dull, and panic sets in. People rush to buy whatever conditioner shows up first online. That’s usually not the smartest move. Slow down for a second. There are gentler ways to bring leather back to life. Cheaper ways too. We’re going to walk through every single one below.
Why Care For Leather Products In The First Place
Leather isn’t like cotton or polyester. It was once skin, and it still behaves like skin in some ways. That means it needs moisture. It needs oils, and it needs protection from the elements. Without proper care for leather products, the material starts to dry out. You’ll notice cracks forming along the folds first. This usually happens near the elbows on a jacket. Or across the toe box on shoes. Once cracking starts, there’s not much you can do to reverse it. Prevention really is the name of the game here. Think of it this way: your skin needs lotion in winter. Leather needs something similar. Dust, sunlight, heat, and regular wear all pull moisture from the fibers.
Over months and years, this adds up. A jacket that isn’t conditioned regularly will look tired within a couple of seasons. One that gets attention every few months can last a decade or longer. That’s the real difference proper maintenance makes.
There’s also a comfort factor people forget about. Leather that’s conditioned regularly feels softer against the skin. It moves with you better too, and looks richer under light. Untreated leather tends to feel stiff, almost papery. It creases in ways that don’t smooth back out. So this isn’t only about longevity. It’s about how the piece feels every time you wear it.
What Is DIY Leather Conditioner And Why Bother Making Your Own
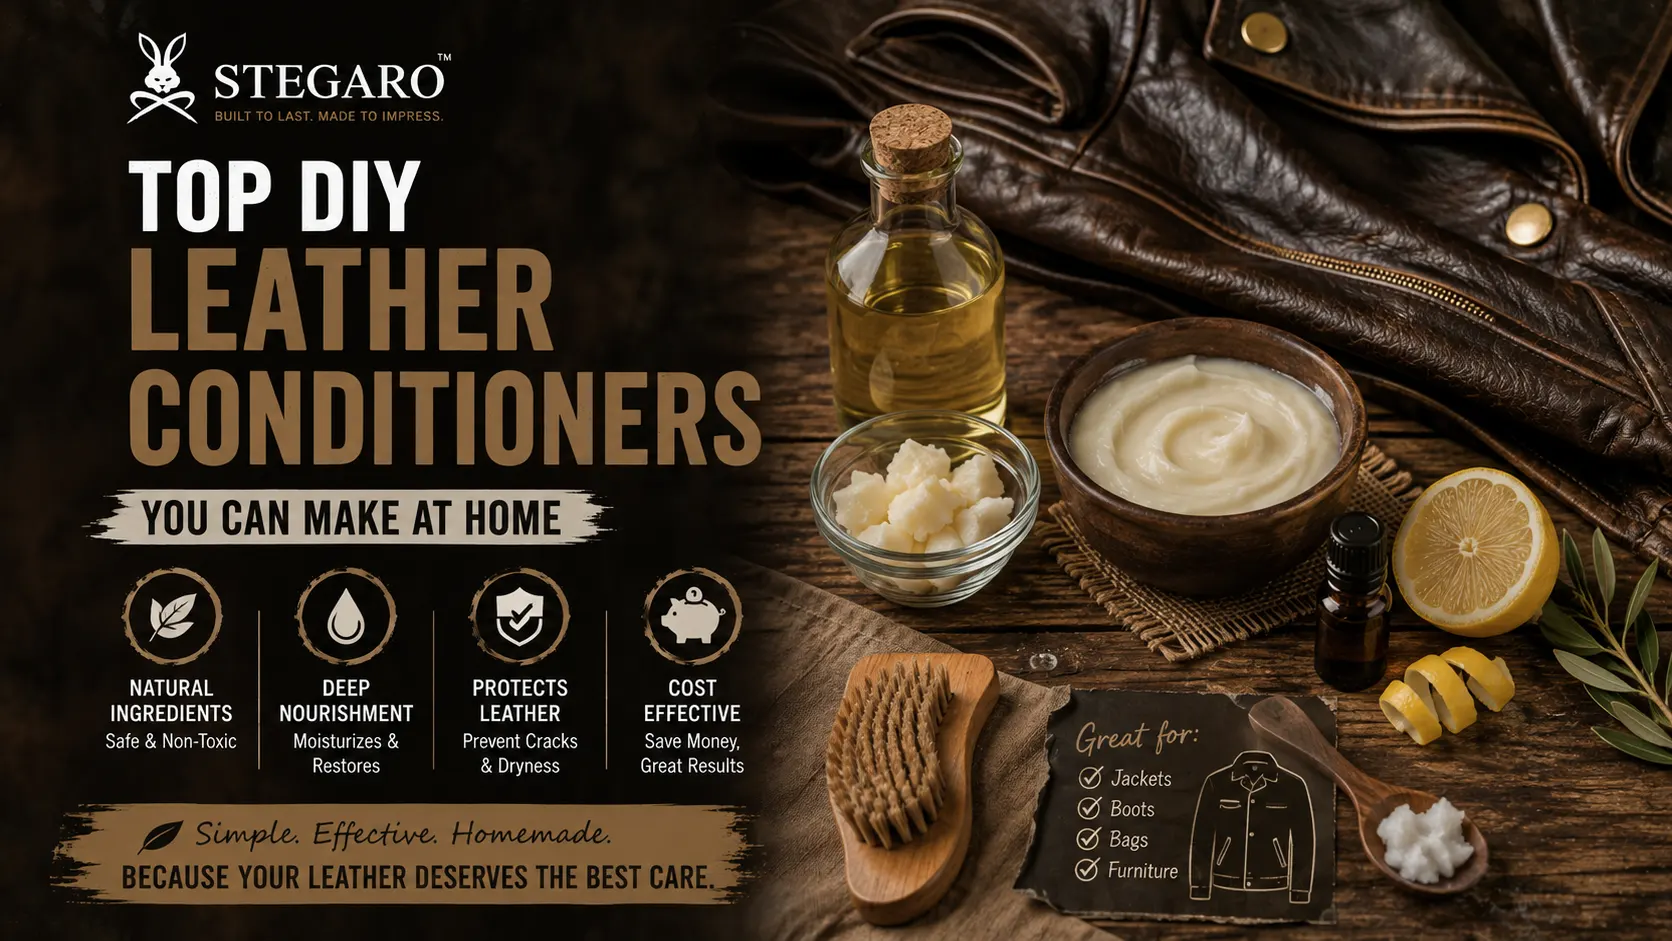
So what exactly counts as a DIY leather conditioner? Basically, it’s any mixture you put together at home. You use natural oils, waxes, or soaps that nourish leather fibers. People have been doing this for generations. This was long before fancy branded bottles showed up on store shelves. Your grandparents probably had their own little recipe. It likely worked just as well as anything you’d buy today. Making your own conditioner gives you real advantages.
First, you control exactly what goes on your leather. No mystery chemicals, no artificial fragrances that might irritate your skin. Second, it’s often way cheaper. You’re using pantry staples instead of specialty products. Third, and this one surprises people, homemade blends can be gentler. Delicate leather sometimes reacts poorly to commercial formulas made for everything at once.
Now, a Homemade leather conditioner isn’t a magic fix for every problem. Heavily damaged or very old leather might still need professional restoration. But for regular upkeep, a simple home mix does the job beautifully. There’s something satisfying about doing it yourself too.
How To Make Leather Conditioner Step By Step
Let’s get into the actual process now. This is probably why you clicked on this post anyway. Learning how to make leather conditioner at home isn’t complicated. You don’t need special equipment either. Start with a clean glass jar; one with a lid works best. Mix equal parts oil and something with a bit of thickness to it. This gives your conditioner enough body so it doesn’t just run off. A common ratio is two parts oil to one part wax. Warm it gently until it melts into a smooth paste. Always test any new mixture on a hidden spot first. Try the inside seam or under a collar.
Wait 24 hours and check for discoloration before applying anywhere visible. This step gets skipped way too often. Honestly, it’s the one that saves you from ruining a good jacket. Once your mixture passes the test, apply it in small circular motions. Use a soft cloth for this part. Let it sit for about twenty minutes. Then buff off any excess with a clean, dry cloth. This second DIY leather conditioner method using melted blends tends to last longer. It holds up better on the surface compared to straight oils.
One more thing worth mentioning: work in a well-ventilated space when melting wax. It doesn’t take much heat, so there’s no need to rush. Low and slow gets you a smoother mixture every time. It also lowers the chance of scorching the oil. A scorched blend can leave a faint burnt smell on your leather.
Coconut Oil For Leather And Why People Swear By It
Coconut oil for leather has become a favorite among natural remedy fans. It smells wonderful, it’s easy to find, and it melts at low heat. That makes it simple to work with. To use it, scoop a small amount and warm it between your palms. Rub it into the leather using gentle strokes once it liquefies. It absorbs fairly quickly and leaves a soft, matte finish. Many people prefer this over a glossy look. However, coconut oil can go slightly rancid over time if you use too much.
Moderation really matters here. A thin layer applied every couple of months works better than a heavy coat once. Some leather workers consider it among the top choices for Best leather softener treatments. It penetrates fibers without leaving things feeling greasy. Just remember to always warm it first. Cold coconut oil sits solid and won’t spread evenly. That leads to patchy, uneven application once it dries.
A lot of people mix a small bit of coconut oil into other blends. It softens the overall texture without overpowering the rest. Keep quantities small, since a little goes a long way with this oil. Too much can leave a slightly tacky feeling behind on the surface.
Olive Oil And Flaxseed Oil Options Worth Trying
Moving to another kitchen staple, Olive oil leather conditioner mixtures go back centuries. Different cultures have relied on this trick for ages. Olive oil is thicker than coconut oil and needs no warming beforehand. Apply it sparingly with a soft cloth, working in small sections. Too much olive oil can darken lighter colored leathers permanently. Lighter shades need extra caution here, so test first, always. For something a bit different, Flaxseed oil for leather is worth exploring too. It’s less commonly discussed, but it has real conditioning properties.
It works especially well on thicker leather goods like belts or work boots. It dries to a slightly firmer finish compared to olive oil. Some people prefer this since it feels less oily afterward. Both oils share one thing in common: patience is required. Apply thin coats and let them absorb overnight if you can. Buff the next day rather than rushing the process along.
Some people combine small amounts of both oils in one batch. This blends the slower absorption of flaxseed with the lighter feel of olive oil. It takes trial and error to land on a ratio you like. That experimentation is honestly half the fun of doing this yourself.
Beeswax For A Long-Lasting Protective Layer
If you want longer gaps between applications, Beeswax leather conditioner blends are the way to go. Beeswax creates a protective barrier on top of the leather. It seals in moisture while also repelling water to some degree. To make this at home, melt beeswax gently with a carrier oil. Coconut or olive oil both work well here. Use a double boiler setup so nothing scorches during melting. Pour the melted mixture into a small tin and let it cool. It should set into a solid balm once fully cooled. Apply using your fingertips, working the balm in with warmth from your hands.
This method takes more effort upfront, but the payoff is worth it. The finish resists water spots and general wear far better than oil alone. Many leather crafters consider beeswax blends essential for outdoor gear. Boots and bags that see rough handling especially benefit from this treatment. It’s more advanced than a straight oil application. But once made, a batch stores well for months in a cool cupboard.
If your first attempt turns out too hard once cooled, simply remelt it. Add a touch more oil to soften the mixture. If it’s too soft instead, remelt again and add a bit more beeswax. It’s forgiving that way. There’s no need to toss a batch over one bad try.
Petroleum Jelly And Baby Soap For Simple Everyday Care
Not every solution needs fancy ingredients. Petroleum jelly leather care is one of the oldest tricks around. It still works remarkably well for everyday scuffs and dryness. A small dab rubbed into the leather softens it almost instantly. It’s incredibly cheap too, and easy to find anywhere. It won’t give the deepest conditioning compared to oil blends. But for quick touch-ups between deeper treatments, it does the job nicely. On the cleaning side, Baby soap leather cleaner solutions work well for regular use. They’re gentle enough not to strip natural oils from the material.
Mix a small amount of baby soap with warm water first. Dampen a soft cloth and wipe the leather surface gently. Avoid soaking the leather; just a light pass lifts most dirt. This works particularly well before applying any conditioner afterward. Clean leather absorbs treatments far more evenly than leather covered in dust.
Both of these methods share a common thread: gentleness. Leather doesn’t respond well to harsh scrubbing or strong chemicals. Patience wins here every single time. A light touch repeated a few times lifts most grime just fine. It’s far safer for the material in the long run too.
Saddle Soap Alternatives And Other Leather Conditioner Substitutes
Sometimes you’re out of your usual products and need something quick. A Saddle soap substitute can be made using mild dish soap diluted heavily with water. It’s gentler and less specialized than actual saddle soap. It still works fine for light cleaning in a pinch. Looking more broadly, there are plenty of Leather conditioner alternatives worth knowing about. These come in handy for emergency situations, especially. Shea butter, mink oil, and certain human skin lotions can all work.
That said, treat these as backup options rather than long-term solutions. They’re not always formulated with leather’s specific needs in mind. Always patch test anything new, no matter how gentle it seems. Leather types vary wildly, and what works on one jacket might not suit another.
Finding The Best Conditioner For Leather And Wrapping Up
At the end of the day, the Best conditioner for leather depends on what you own. It also depends on how you use it day to day. Softer jackets might do better with coconut or olive oil. Boots and bags exposed to weather benefit more from beeswax blends. There’s no single perfect answer here, and that’s okay. Experimenting a little is honestly part of the fun. Keep a small notebook of what you’ve tried and how it went. It helps a ton over time, trust me on this one.
And speaking of leather that deserves proper care, consider something new too. Check out Stegaro, our online store where we sell premium-quality jackets. Every piece is built to last for years with the right maintenance. Taking care of leather doesn’t have to be expensive or complicated. With a few pantry ingredients and a little patience, your leather goods can stay soft. They’ll stay supple and look great for a very long time.
Start small if you’re new to all this. Pick one method and try it on something you’re not too precious about. See how it goes from there. Once you find a routine that suits your leather, stick with it. Consistency matters far more than chasing some perfect secret formula. Your jacket will thank you for the steady attention over the years ahead.
FAQs
Every two to three months works well for regular wear. Heavier use might need more frequent attention. Watch for dryness as your guide.
No, suede reacts differently than smooth leather. Oils can stain and flatten the nap permanently. Stick to suede-specific cleaners instead.
Stored in a cool, dry place, it lasts several months easily. Keep the lid tight so it doesn’t dry out. A small batch goes a long way.
Many people find they work just as well for regular upkeep. They’re often cheaper and use fewer harsh chemicals too. Severely damaged leather may still need professional help.